










NEW
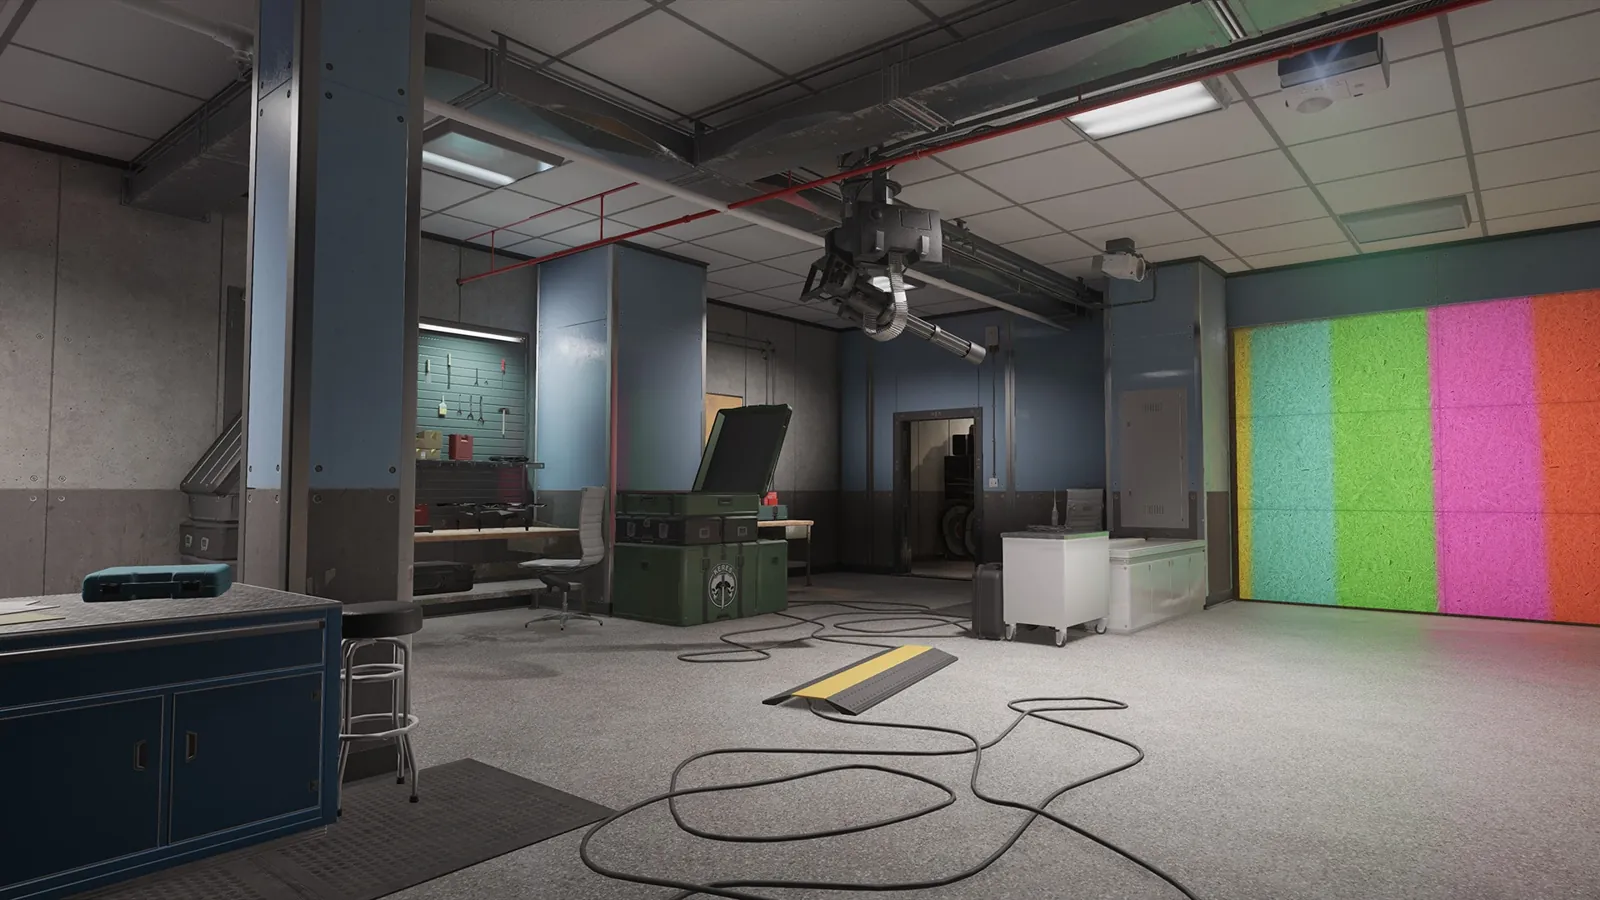
Top Split: Lair Master Office attack strat
Ops breach into Masks while Display and Pebbles squeeze the R6 Room
Needs 4 · Quad Try in a custom firstFIFrozen (iFrozen)
Checked Y11S3.1 Competitive · iFrozen's team Low confidence: try it in a custom first
Rounds won–0W · 0L
RatingNew0 votes
Played0rounds reported
TeamNeeds 4Hard · Split push
Top Split
1 · Pick your operator
Tap yours · ⊘ if bannedTap yours · ● = core slots
Take Operations, swing Masks
 Mk17 CQB
 Frag Grenade
Breach Masks and Mezzanine walls
 AK-12
AK-12 P9
P9 Stun Grenade
Display side, Candela Bathroom
 T-95 LSW
 Reaper MK2
 Smoke Grenade
Lurk Medical to Blue Stairs
 AK-74M
 .44 VendettaFrag Grenade
Pebbles side, clear utility
 AR33
AR33 GSh-18
 Claymore
2 · Your round
Tap your operator above. Your steps show up here.
Layout
Site: Master Office / R6 Room on 2F
DefuserAcethen Blackbeard
PlantMaster Office, through the Masks breach
Operators in this plan
Based on 1 creator guide · Frozen (iFrozen)
What we changed: Pro version: 'TOP - SPLIT' (slide 13) in iFrozen's public Lair team deck, first slide after the 'Attacks' divider. From the slide: 1F (left) and 2F (right), no bans box, no note. Legend (options per slot): Blackbeard or Blitz; Ace or Thermite, with Sens and Grim greyed and a hard breach charge; Ying or Glaz, with Grim greyed; Deimos or Buck; Flores or Thatcher. The attack setup table's '6 - TOP SPLIT' row puts them at OPS, OPS, DISPLAY, MED and PEBBLES. Drawn: Blackbeard solid in Operations and dashed at the Bridge with an arrow along it, Ace in Operations with breach marks on the Masks north wall and the Operations–Mezzanine wall, Ying south of the Bathroom, Thatcher east of the R6 Room with open marks on the corridor wall and by the Green Stairs, Deimos on 1F (Blue Hall, dashed in Medical) and at the top of the Blue Stairs, a Volcán icon in the north hall and a Banshee icon in the Bathroom in the red player's colour, and red no-go marks at the east corridor and the south end of Display. What we changed/assumed: the red-framed Volcán and Banshee are read as expected defender utility for Flores/Thatcher to clear; the planter (Ace, Master Office) and the timings are ours. No gadget icons are shown for most slots, so loadouts are left open. Uncertain: two red open marks on 1F (by the Green Stairs and north of Bunks) are unexplained. Season: Thermite's charge 220 and Buck's 36 shells (Y11S3.1); Thatcher uses the E.G.S. Disruptor (Y10S4). From the source deck: No ban box is drawn on this slide; the deck's title slide bans Bandit, Mute and Clash on attack; The slide has no note and lists several swaps per slot; the slide marks it; the slide also offers walking the Bridge from the north-west; Thatcher is the slide's swap and is drawn on this spot.
Written up in our own words. The tactics are the creators'; go support them.
More attack on Lair


NEW


NEW