










NEW
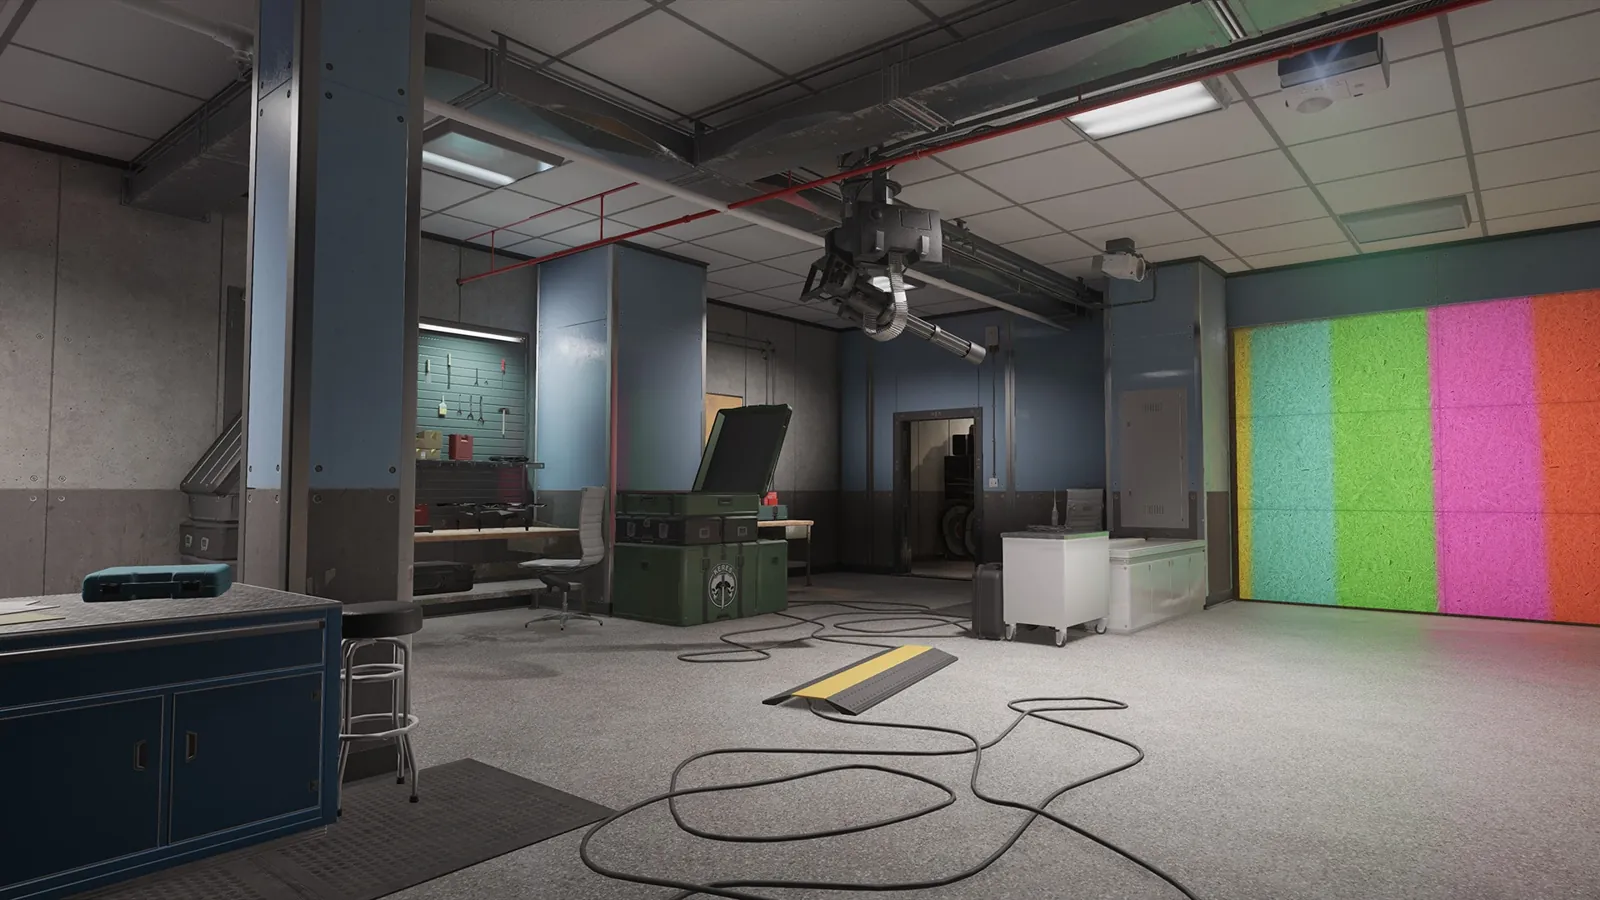
H Split: Lair Lab attack strat
Barrels, Electrical, Garage, Stock and 1F CC at once; plant in the Lab
Needs 5 · 5-stack Try in a custom firstFIFrozen (iFrozen)
Checked Y11S3.1 Competitive · iFrozen's team Low confidence: try it in a custom first Changed: Dokkaebi, Sledge
Rounds won–0W · 0L
RatingNew0 votes
Played0rounds reported
TeamNeeds 5Hard · Split push
H Split
1 · Pick your operator
Tap yours · ⊘ if bannedTap yours
Barrels wall, smokes for plant
 G52-Tactical Shield
 P12
P12 Smoke Grenade
Electrical, shock drone the Lab
 F2
F2 P9Smoke Grenade
Hard breach the Garage wall
 T-95 LSW
 Reaper MK2
 Hard Breach Charge
1F Security, phones, Lobby hatch
 XK23
XK23 SMG-12
 Breach Charge
Stock wall, plant in the Lab
 L85A2Reaper MK2
 Frag Grenade
2 · Your round
Tap your operator above. Your steps show up here.
Layout
Site: Lab / Lab Support on Basement
DefuserSledgethen Blitz
PlantSouth of the Lab, behind the smokes
Operators in this plan
Based on 1 creator guide · Frozen (iFrozen)
What we changed: Pro version: 'BASEMENT - H SPLIT' (slide 14) in iFrozen's public Lair team deck, matching the '6 - HORIZONTAL SPLIT' row of the attack setup table (Blitz BARREL, Twitch/Ace EBOX, Ying WARE, Dokkaebi CC, Striker STOCK). From the slide: basement (left) and 1F (right), no bans box, no note. Legend: Blitz with a smoke grenade; Twitch with a smoke grenade, swap Ace with a stun grenade; Ying with a hard breach charge, swap Glaz with a smoke grenade; Dokkaebi with the old EMP impact icon, swap Deimos; Sledge (greyed) and Striker with a frag grenade and a device we read as a claymore. Drawn: Blitz at Barrels with an open mark (dashed Blitz entries from Gen/Boiler, Missile and Stock), Twitch north of Electrical with an open mark and a dashed drone path from Lockers into the Lab, Ying at the Garage wall, Sledge south of Stock with an open mark, Dokkaebi outside by the Garage door and dashed in 1F Security, smoke clouds in Lab Support and the south of the Lab, a dashed Sledge route from 1F Range to the Armory hatch. What we changed/assumed: Sledge stays main because he is listed first and drawn twice, with Striker (the table's pick) as the first backup; the planter (Sledge) and timings are ours. Uncertain: the purpose of the magenta open marks on 1F, and whether the dashed icons are alternatives or later moves. Season: Dokkaebi's EMP impacts became Breach Charges (Y11S3); Sledge's hammer is faster (Y11S3.1). From the source deck: No ban box is drawn on this slide; the deck's title slide bans Bandit, Mute and Clash on attack; The slide has no note; The slide also draws you entering from the Gen/Boiler side, from Missile toward Purple and from Stock toward the Lab, so take whichever side is open; On 1F the slide marks two open spots up north for this slot; Dokkaebi's EMP impacts became Breach Charges in Y11S3, so the old EMP icon on the slide is now a soft breach charge; The slide's other route is from 1F Range to the Armory hatch, which you can hammer open over the Lab.
Written up in our own words. The tactics are the creators'; go support them.
More attack on Lair



NEW




NEW